Back to the page installation guide.
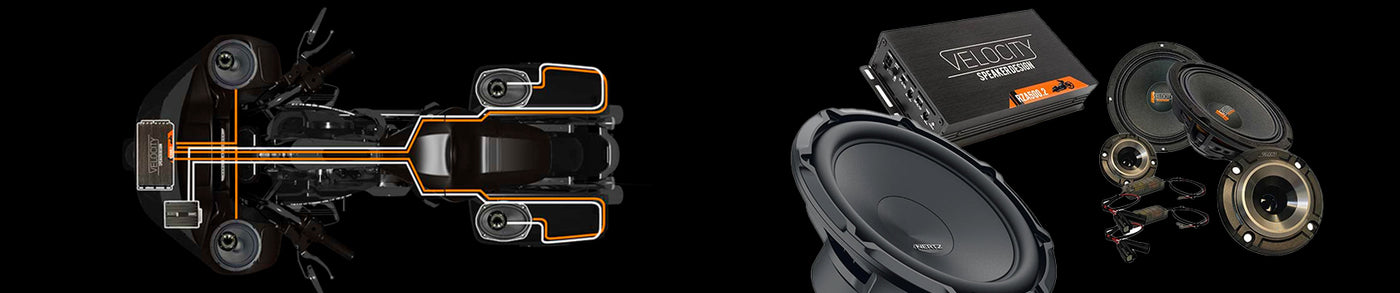

This guide walks you through performing your own Harley-Davidson radio flash using the TechnoResearch / Alaris HD Audio system. Done correctly, this unlocks the full performance of your factory radio when running aftermarket speakers and amplifiers.
A flash alone does NOT fix poor wiring choices. Always use proper plug-and-play harnesses. Never use high-to-low converters — they will degrade sound quality and can damage equipment.
Flash Tool Required

The ONLY recommended tool is the TechnoResearch interface. Even many Harley dealerships use this instead of factory tools.
What a Proper Flash Does
- Enables rear speaker channels (adds fader control)
- Sets correct signal voltage for amplifiers
- Loads a proper EQ curve
- Enables tone controls
- Allows CarPlay activation (GTS radios only)
Recommended Setup:
Load the Rockford Fosgate profile — works with ALL aftermarket systems.
Where to Locate the Flash Port Video
Step-by-Step Flash Process
Alaris HD Audio Setup
Install the software here:
Download TechnoResearch Software
Purchase additional flashes:
Buy Pay-Per-Bike License
Need help adding a license?
License Walkthrough
Full manual:
Alaris HD Audio Manual
Common Mistakes to Avoid
- Using high-to-low converters (DO NOT DO THIS)
- Using amps without high-level input
- Skipping proper Harley integration harnesses
Do You Need a DSP?
If you're running high-output or pro audio speakers — YES. For basic systems, it may not be required.
Final Notes
A proper flash combined with the correct wiring and components is what separates a mediocre system from a high-performance Harley audio setup.
We at American Hard Bag provide the Manual Installation Guide for this item in PDF format, click the button and save the file.
Back to the page installation guide