Back to the page installation guide.
WH-14-SH-NOCB Fairing DSP Power Harness Installation Guide

The WH-14-SH-NOCB Harness provides a simple way to access clean factory 12V constant power and ground inside the fairing on 2014–2023 Harley-Davidson Touring models. It is designed for digital sound processors and other low-amperage accessories drawing less than 10 amps.
This harness plugs directly into the unused factory CB radio connector, which is prewired on 2014–2023 Harley-Davidson Touring models whether or not the bike came with a CB radio installed.
Vehicle Fitment
Fits: 2014–2023 Harley-Davidson Road Glide, Street Glide, Electra Glide, Ultra, Limited, Tri Glide, Screamin’ Eagle, and CVO Touring models.
Does not fit: 1998–2013 models or 2023.5 and later Skyline bikes with the wide Android-based radio.
Tools & Parts Needed
- Wire strippers
- Cutters
- Connectors or solder for attaching the harness pigtails to the powered device
- Zip ties
Preparation
Skill level: Beginner
Estimated install time: 15 minutes
- Disconnect the motorcycle battery before making any wiring connections.
- Make sure the motorcycle is on a stable surface with the handlebars centered.
- Connect the harness pigtails to your accessory device before plugging the harness into the motorcycle.
Installation Steps
Step 1: Locate the Factory CB Radio Connector
Locate the factory CB radio connection on the throttle side of the fairing harness. It is bundled with the main radio harness and rear speaker output. The connector is a black 12-pin male Molex with a rubber block-off plug.

Figure 1: Factory CB radio connector location.
Step 2: Remove the Rubber Block-Off Plug
Remove the rubber block-off plug from the factory CB connector.
Step 3: Plug In the WH-14-SH-NOCB Harness
Plug the WH-14-SH-NOCB harness directly into the factory connector.

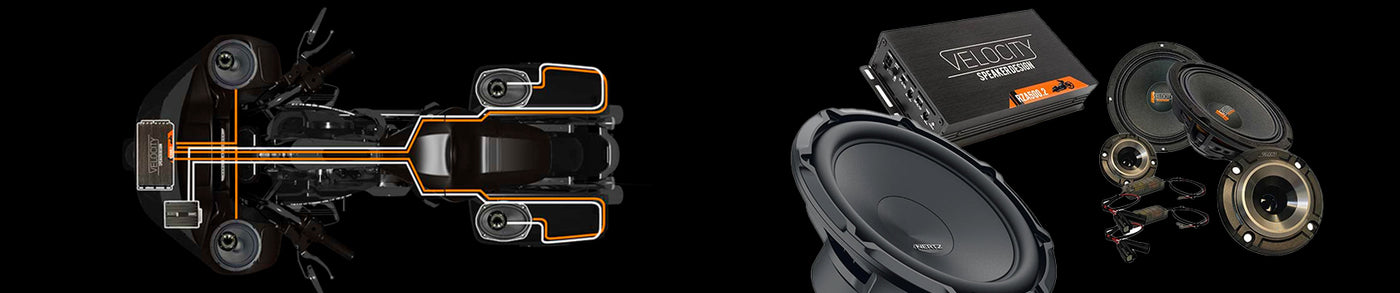
Figure 2: WH-14-SH-NOCB connected to the bike with the fairing removed for a clear view.
Step 4: Connect the Harness Pigtails
Connect the harness pigtails to your DSP or low-amperage accessory:
- Black wire: Battery ground
- Yellow wire: +12V constant power, active even with ignition off
Step 5: Secure the Wiring
Secure the wiring with zip ties to prevent movement, rubbing, or chafing inside the fairing.
Verification & Testing
- Reconnect the motorcycle battery.
- With the ignition OFF, verify the yellow lead provides +12V power.
- Power on the connected device and verify proper operation.
- If the device does not power on, check the P&A fuse in the factory fuse box under the side cover near the battery.
The P&A circuit is typically protected by a 20A yellow fuse, though some bikes may be equipped with a 15A blue fuse.
Final Check
Once the connected accessory powers on correctly and all wiring is secured, reinstall the fairing components and verify normal motorcycle operation.
Back to the page installation guide