Back to the page installation guide.

WH-SBB Split Backbone Rear Speaker Wire Harness Installation Guide
Complete installation guide for the WH-SBB Harley-Davidson split backbone rear speaker wire harness. Designed for clean saddlebag speaker wiring with quick-disconnect serviceability and factory-style routing for touring motorcycles.
Tools & Parts Required
Tools Needed
- Power drill
- Phillips screwdriver
- Torx drivers
- Allen wrenches
- Flush cutters
- Zip ties
Included Parts
- WH-SBB 2-channel speaker wire harness
- 4-pin amplifier service disconnect
- Left and right saddlebag harnesses
- Lid speaker service disconnects
- Chrome wire caps
- Wire cap mounting screws
Installation Steps
Split Backbone Harness Video Overview
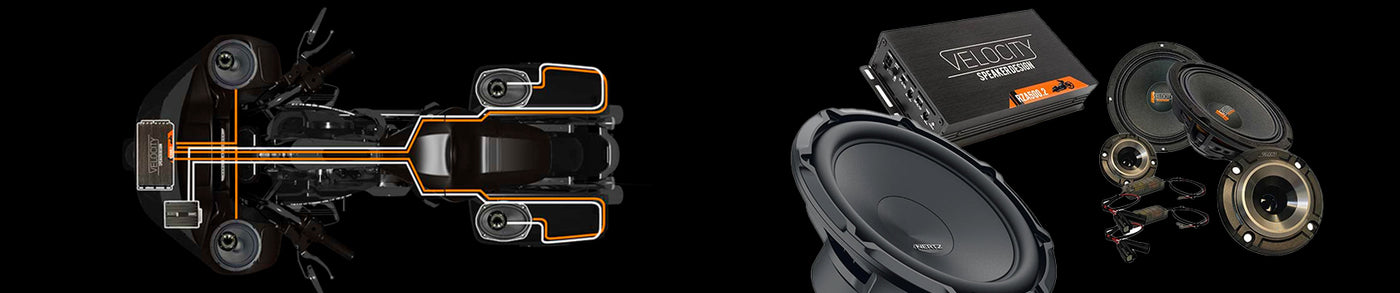
This video applies to many versions of our rear speaker wire harnesses and focuses specifically on the split backbone section of the harness. The split backbone is the section that routes from the fairing amplifier area down the backbone of the motorcycle to both saddlebags.
For a full walkthrough and demonstration video visit: WH-SBB Rear Speaker Wire Harness Video
Step 1 — Remove Components
Remove the seat, gas tank, outer fairing, both saddlebags, and both side covers. This provides full access to the motorcycle backbone and harness routing areas.
Step 2 — Connect Amplifier Service Disconnect
Connect the 4-wire amplifier service disconnect to the amplifier rear channel outputs. This creates a quick-release service connection for future maintenance and troubleshooting.


If running directly from the factory Harley-Davidson radio without an amplifier, connect the backbone harness directly into the radio’s 4-pin rear speaker output connector.

Step 3 — Route Backbone Harness
Route the Y-shaped harness from the fairing area down the bike backbone following the factory harness path. Position the Y-junction near the end of the factory plastic wire channel near the battery compartment.
Secure the harness with zip ties and pull all excess slack forward into the fairing area. Tie the harness to the factory wiring near the neck and frame.
Left Side Routing (Clutch Side)
Route the white and green 2-pin connector around the front of the battery compartment and through the fuse panel area beneath the clutch-side cover. Position the connector near the factory diagnostic connectors.


Step 4 — Route Right Side Harness
Route the red and black 2-pin connector along the brake side of the motorcycle and secure it near the ABS pump area. This prevents excess slack while maintaining safe clearance from suspension and exhaust components.
The saddlebag harness intentionally angles downward and slightly rearward to create a service loop. This allows the saddlebag to be unbolted and leaned away from the motorcycle during future service without stressing the wiring.
Step 5 — Prepare Saddlebag Entry
Drill a 1/2-inch hole approximately 2 inches back and 3 inches up from the bottom front corner of each saddlebag. This creates a clean and low-visibility wire entry point.

Feed the white 2-pin connector through the hole and install the chrome wire cap. Pre-drill 3/32-inch pilot holes before installing the cap fasteners.

Step 6 — Route Wiring Inside Saddlebag
Route the harness around the rear inside perimeter of the saddlebag and forward toward the hinge side of the lid. This keeps wiring hidden while protecting it from cargo damage.
Route the harness underneath the lid tether near the hinge area for a clean factory-style appearance.

Step 7 — Connect Lid Speakers
Connect the lid speaker quick-disconnect pigtails to the saddlebag lid speaker terminals. These quick disconnects allow easy saddlebag lid removal while maintaining correct speaker polarity.

Verification & Testing
- Reconnect the battery and power on the audio system.
- Verify both left and right rear speakers produce clean audio.
- Gently move the saddlebag harness connectors to confirm there is no intermittent audio loss.
- Inspect all harness routing to ensure clearance from exhaust, suspension, belt, and moving components.
- If using an amplifier, verify proper left and right rear channel assignment.
Troubleshooting
| Symptom | Likely Cause | Recommended Fix |
|---|---|---|
| No sound from rear speakers | Loose or disconnected harness connection | Inspect all backbone and saddlebag quick disconnects |
| Weak or hollow sound quality | Speaker polarity reversed | Verify speaker wiring polarity at amplifier and speaker connections |
| Intermittent audio | Harness strain or improper routing | Inspect for pinched wiring and confirm service loop slack |
Back to the page installation guide