

Best Motorcycle Amplifiers for Rain and Road Rumble
The best motorcycle amplifiers for touring bikes deliver enough clean power to hear music over wind and road noise, fit your bike's available space, and protect their wiring and electronics from rain and vibration. Compare RMS power, speaker compatibility, weather protection, and harness fit before choosing a model. A big wattage claim means little if the amp strains your charging system or makes installation harder than it needs to be.
At American Hard Bag, we design motorcycle audio upgrades for Harley-Davidson Touring bikes. Our experience with high-power, plug-and-play systems helps us focus this roundup on what matters when you ride. For a broader look at how these systems compare with other powersports audio options, Motorcycle.com's amplifier guide offers useful context on open-air sound challenges.
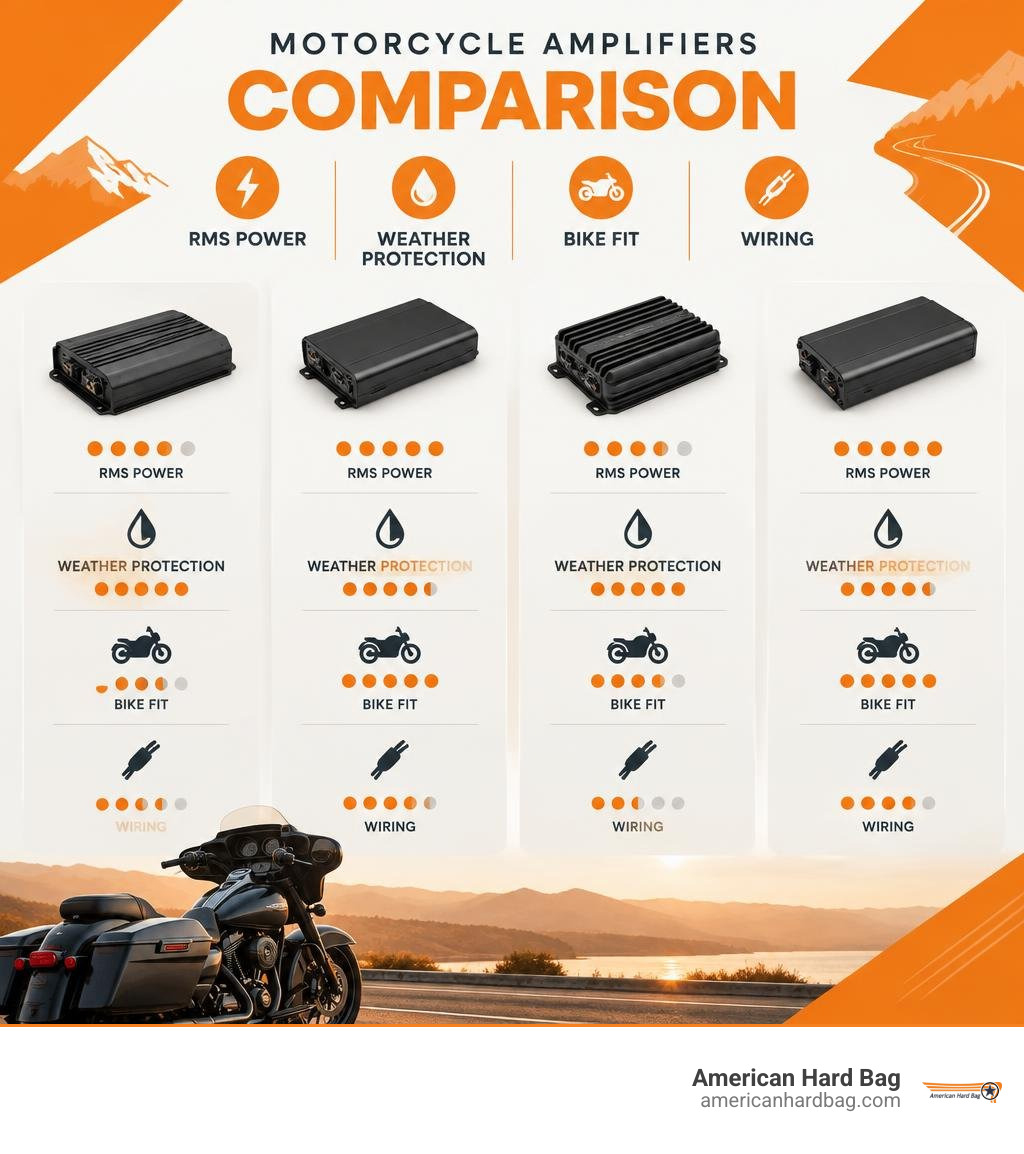
What Sets Motorcycle Amplifiers Apart from Standard Audio Gear?
Tossing a standard car amplifier under a motorcycle fairing is a fast track to fried electronics and disappointing audio. Standard automotive amplifiers are designed to sit in carpeted trunks or under passenger seats where airflow is stable, moisture is low, and chassis space is generous. In contrast, motorcycle amplifiers operate in an unforgiving, hostile environment where heat, water, and mechanical vibration constantly assault delicate circuitry.
Space inside a Batwing or Sharknose fairing is extremely tight. Modern powersports amps utilize micro-chassis profiles engineered for maximum power density. Every square inch of the internal board must generate usable wattage without wasting energy as heat.
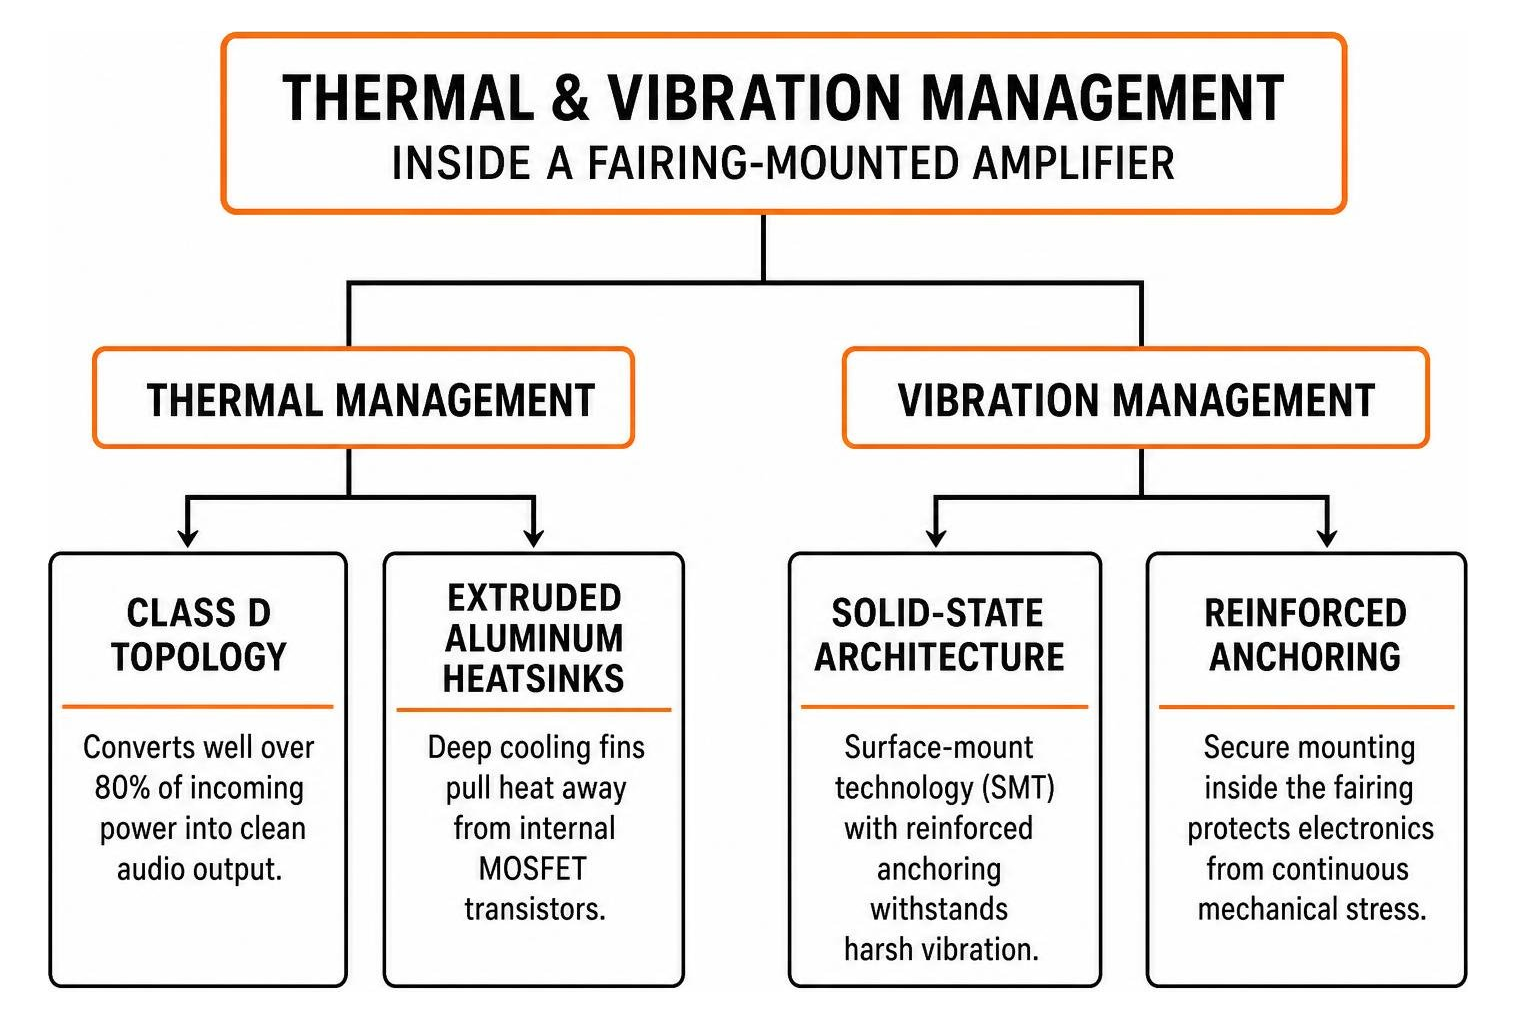
Because a motorcycle's charging stator produces a fraction of the current supplied by a passenger vehicle's alternator, efficiency is everything. Touring bikes typically have limited spare amperage once the ignition, lighting, and electronic modules take their share. Highly efficient Class D topology converts well over 80% of incoming electrical power into clean audio output, preventing voltage sag and protecting your stator. When planning your build, learning how to choose the right amplifier for your Harley's sound system ensures you balance power output against your bike's electrical limits.
Environmental Resistance and Weatherproofing Standards
A sudden highway downpour shouldn't silence your playlist. True powersports amplifiers feature rugged defense mechanisms against moisture intrusion:
- Conformal Coating: Internal printed circuit boards (PCBs) are dipped or sprayed with a specialized silicone or polymer layer that seals micro-traces against water, humidity, and road grime.
- Ingress Protection (IP Ratings): High-grade units frequently carry an IP65 or higher rating, confirming dust-tight construction and protection against pressurized water jets.
- Sealed Gasket Enclosures: Heavy-duty rubber and silicone O-rings protect the top-mount control panels, terminal covers, and crossover switches.
- Corrosion-Proof Hardware: Stainless steel fasteners and nickel-plated or gold-plated connection terminals stop galvanic corrosion caused by road salt and rain.
Vibration Damping and Heat Dissipation Under Fairings
Motorcycles subject electronics to continuous mechanical stress. Between engine pulses and rough asphalt, standard lead solder joints can crack over time. Powersports units utilize solid-state architecture, surface-mount technology (SMT), and reinforced anchoring to withstand brutal g-forces.
Thermal management is equally crucial. Trapped inside an enclosed front fairing on a scorching summer afternoon, ambient temperatures easily exceed 140 degrees Fahrenheit. Quality amplifiers combat this using extruded aluminum heatsinks with deep cooling fins that pull heat away from internal MOSFET transistors without requiring delicate internal fans that could ingest water and road dirt.
Top Motorcycle Amplifiers for Weather Resistance and High Output
Choosing the right amplifier comes down to balancing channel count, clean wattage, and your bike's available physical mounting real estate. Selecting dedicated modular amplifiers allows you to precisely match power output and acoustic performance to your specific bike setup.
| Amplifier Model / Setup | Channels | RMS Power (per ch @ 4Ω) | RMS Power (per ch @ 2Ω) | Ingress Protection | Primary Fitment |
|---|---|---|---|---|---|
| Velocity RZA500-2 | 2 | 150 Watts | 275 Watts | Weather Resistant | Fairing / Universal |
| Velocity RZA1000-4 | 4 | 150 Watts | 250 Watts | Weather Resistant | Fairing / Saddlebag |
| Velocity Twin RZA500-2 | 4 | 300 Watts (2 ch) | 550 Watts (2 ch) | Weather Resistant | Dual Fairing Mount |
Compact Two-Channel and High-Power Multi-Channel Motorcycle Amplifiers
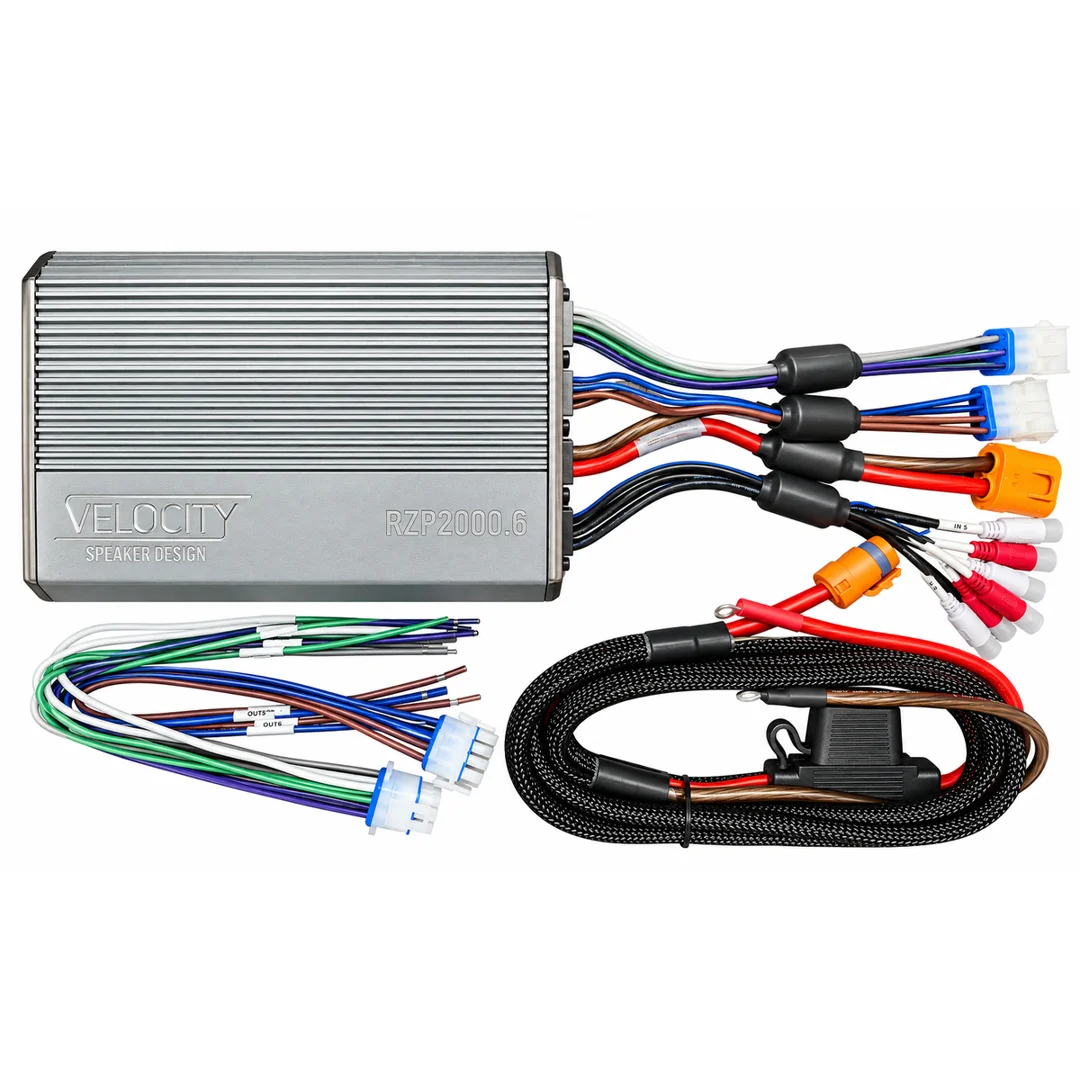
If you are running a straightforward two-speaker fairing setup, high-output micro-amps provide massive sound without eating up space. The Velocity RZA500-2 550 Watt Amplifier packs immense headroom into a chassis small enough to mount cleanly inside modern Street Glide and Road Glide fairings. Its high-efficiency Class D design delivers pristine dynamics at 2-ohm loads, providing the dynamic punch needed to push through open-air acoustics.
For riders wanting to power fairing speakers along with lower fairings or rear pods, stepping up to a dedicated 4 channel motorcycle amplifier is the standard move. The Velocity RZP1500.4 Harley 4 Channel Amplifier provides flexible crossover controls and massive signal-to-noise ratios, giving you clean, unclipped volume across all four corners of your motorcycle.
Premium High-Output Fairing and Saddlebag Amplifiers
When your audio system expands to include high-draw 6x9 saddlebag lid speakers or dedicated 8-inch bag woofers, multi-amp setups become essential. Utilizing specialized multi-amp configurations, such as the 1-100 Watt RZA500-2 Twin Amplifier Combo for Harley, lets you dedicate individual chassis to distinct frequency ranges. You can assign one amplifier solely to punchy mid-bass bag drivers while the second focuses on crystal-clear fairing horns and midrange speakers, achieving studio-level separation at 80 miles per hour.
Core Features to Evaluate Before Upgrading Your Bike's Audio
Evaluating specs on paper requires looking past flashy marketing labels. Here are the core technical points to check:
- Continuous RMS vs. Peak Power: Always ignore "Max" or "Peak" wattage claims, which represent brief, unsustainable bursts. Look strictly at continuous RMS power measured with low total harmonic distortion (THD < 1.0%).
- Current Draw and Stator Capacity: Ensure the amplifier's maximum fuse rating matches what your electrical system can deliver. An amp pulling 60 continuous amps will quickly discharge your battery if your stator only has 20 amps of excess overhead.
- DSP Integration: Modern factory radios feature heavy internal equalization curves designed to make cheap stock speakers sound acceptable. Pairing your system with a smart processor like the Hertz S8 DSP Amplifier flattens that factory curve, giving you surgical control over time alignment, equalization, and crossover slopes.
- Factory Radio Flashing: When keeping your stock head unit, getting an audio flash resets aggressive bass-boost curves that would otherwise cause early amplifier clipping and blown voice coils.
Budget Tiers and What to Expect
In 2026, the market for powersports audio spans several distinct quality tiers:
- Entry-Level Micro Amps ($150 - $300): Basic weather-resistant enclosures producing 40W to 75W RMS per channel. Great for local commuting, but often run out of dynamic headroom above 65 mph.
- Mid-Tier Powersports Amps ($350 - $650): Solid IP-rated chassis, conformal-coated boards, advanced thermal sinking, and real-world 100W to 150W RMS per channel. This is the sweet spot for touring riders wanting reliable open-road clarity.
- Competition-Grade High-Output Gear ($700 - $1,500+): Extreme power density (250W+ RMS per channel), onboard digital signal processing, fan-less thermal engineering, and multi-amp modular expandability.
Legal Sound Limits and Municipal Noise Ordinances
With great power comes the responsibility not to rattle every window in residential neighborhoods. Many cities enforce specific decibel limits (often 85 dB measured at 50 feet). The beauty of having high-power amplifiers isn't necessarily playing your music so loud it shakes traffic lights; it's about having clean power headroom so you hear rich, distortion-free sound right at your handlebars without cranking the gain into dangerous harmonic clipping. Turn it down when cruising quiet neighborhoods, and save your volume for open interstates.
Motorcycle Amplifier Installation Across Fairings, Handlebars, and Bags
A clean installation looks professional and ensures long-term reliability against vibration. Proper mounting locations depend on your chassis type:
- Batwing Fairing (Street Glide / Electra Glide): Space is concentrated directly over the radio head unit. Using precision-cut amplifier racks provides a solid aluminum foundation that secures the amp firmly above the headlight assembly while maintaining essential clearance for windshield brackets.
- Sharknose Fairing (Road Glide): The Road Glide's fixed frame offers broader horizontal space inside the outer fairing pockets, often allowing for twin-amp configurations or side-mounted plate brackets.
- Saddlebags: If you're building a massive competition bagger, mounting your amps inside hard bags protects them from road spray while allowing easy access. Be sure to run a dedicated amplifier harness for saddlebags equipped with quick-disconnect plugs so you can remove your luggage for routine tire maintenance or bike detailing.
To see step-by-step assembly sequences on modern baggers, follow our detailed Harley touring amplifier install guide.
Wiring Harnesses, Power Delivery, and Factory Radio Integration
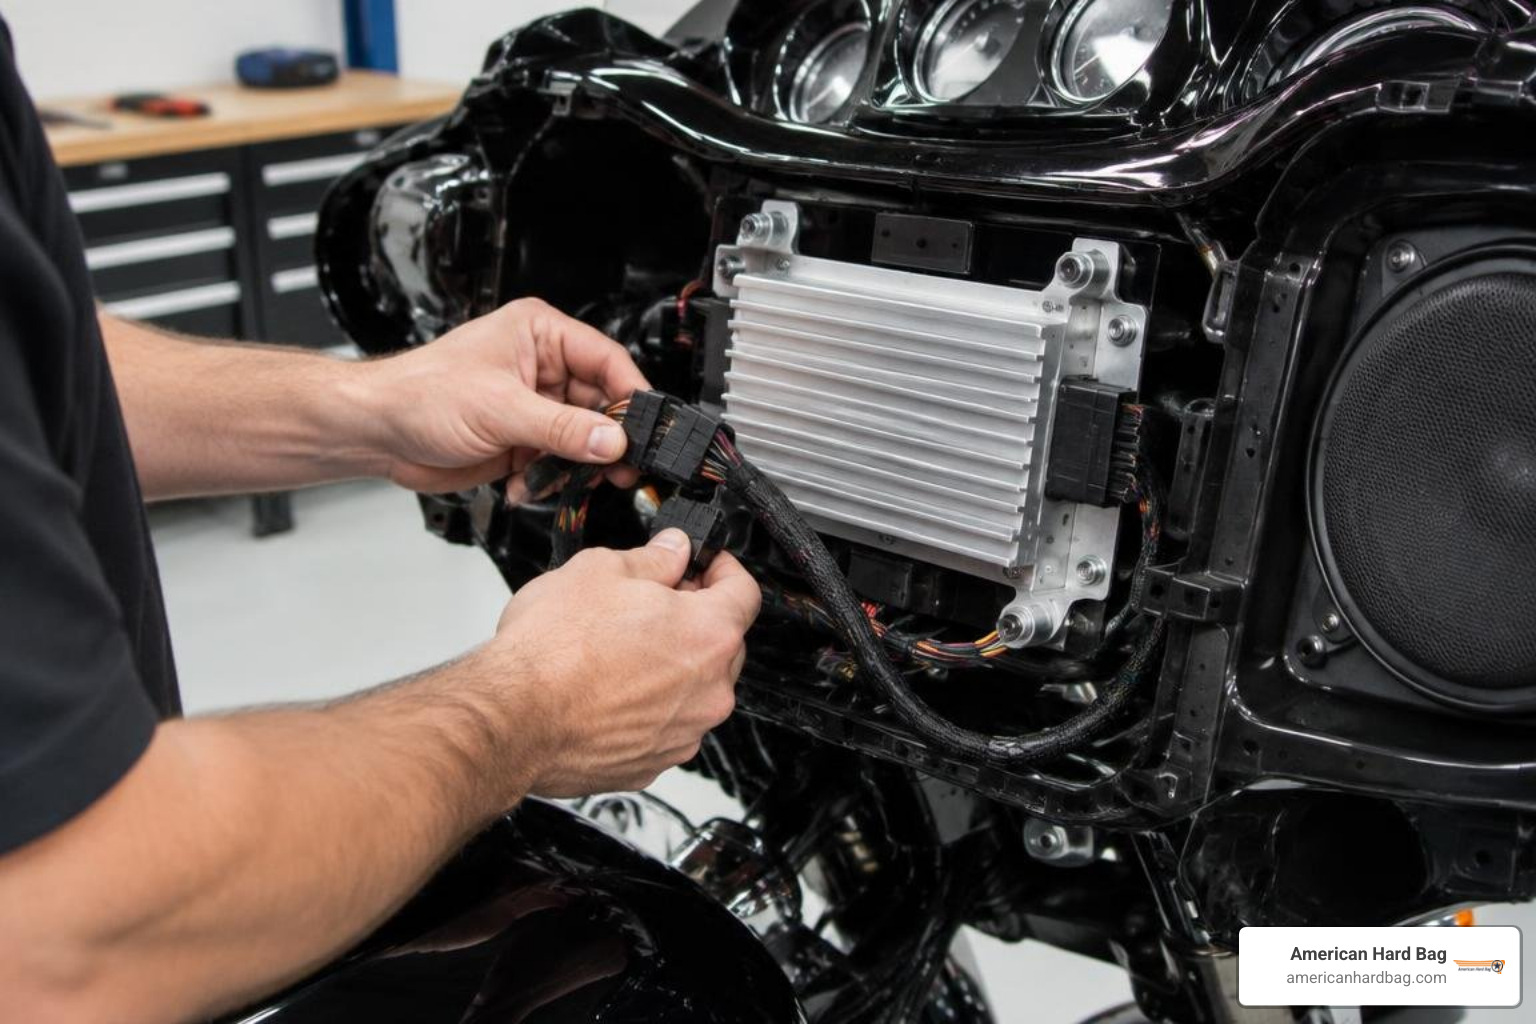
Hacking into factory wires with cheap crimp connectors invites electrical gremlins and voided warranties. Using plug-and-play architecture keeps your harness intact and serviceable.
Start power delivery right at the battery posts with an 8 gauge premium fairing mounted amp power harness with disconnect. Running true oxygen-free copper (OFC) wire with an in-line fuse within 12 inches of the battery terminal ensures safe, unchoked current flow to the fairing.
To route clean output signals back to your speakers, an amplifier to fairing speaker plug play harness with service disconnect eliminates guesswork. If you are upgrading from an older factory amplifier, integrating an amplifier bypass harness lets you feed clean audio directly into your new setup without altering your motorcycle's main backbone wiring.
Tuning and Wiring Motorcycle Amplifiers for Maximum Clarity
Setting amplifier gains by ear is a recipe for distortion and burned speaker coils. Road noise masks high-frequency clipping until it is too late.
To calibrate correctly, consult our guide on Harley amplifier setting gains by voltage the correct way. Using a digital multimeter (DMM) and a clean test tone (such as a 1 kHz sine wave at -5 dB for fairings), calculate your target AC voltage based on your speaker impedance using standard electrical formulas (voltage = square root of wattage × resistance). Adjust your amplifier gain dials until your meter reads the exact target voltage with zero clipping. Set your high-pass filter (HPF) around 80 Hz to 100 Hz to block sub-bass frequencies that small fairing speakers cannot reproduce, freeing up massive amplifier headroom for vocals and punchy mid-bass.
Frequently Asked Questions About Motorcycle Amplifiers
How many watts do I need to hear music clearly at 70+ mph?
To cut through rushing wind, full-face helmet padding, and aftermarket exhaust pipes, aim for 100 to 150 Watts RMS per channel at 4 ohms (or 150W to 250W RMS at 2 ohms). Anything less than 75W RMS per channel will struggle at high speeds, forcing you to turn the volume up into distortion to hear vocals.
Will adding a high-power amplifier drain my motorcycle battery or stator?
Not if you use an efficient Class D powersports amplifier and keep your motorcycle running while playing music. High-efficiency Class D amplifiers pull current dynamically, drawing heavy power only on dynamic musical peaks. Modern Harley Touring stators (rated between 48 and 54 amps) easily handle one or two properly tuned amplifiers without dipping below safe charging thresholds.
Can I connect GPS navigation and Bluetooth directly through my amplifier?
Yes. If your bike doesn't have a factory infotainment screen, you can wire a compact, weather-sealed Bluetooth receiver directly into the amplifier's RCA inputs. Your smartphone or standalone GPS can then route voice-guided turn-by-turn directions and high-res streaming music straight to your fairing speakers.
Conclusion
Upgrading your bike's audio system transforms long highway miles into an incredible concert experience. Choosing an amplifier built specifically for the demands of the open road ensures your system shrugs off rain, absorbs brutal engine vibrations, and delivers clean, dynamic volume above the loudest road rumble. Explore our premium touring amplifier collection to find engineered, plug-and-play power upgrades designed specifically for your motorcycle.