

Why Upgrading Your Harley Davidson Motorcycle Speakers Matters
Upgrading your Harley-Davidson motorcycle speakers with high-sensitivity, marine-grade aftermarket drivers and proper amplification is the most direct way to overcome wind and exhaust noise for clear highway listening. Aftermarket systems deliver significantly enhanced acoustic projection, allowing crisp vocals and punchy rhythms to cut straight through heavy wind resistance, while factory motorcycle stereos often turn your favorite playlists into a muddy, distorted mess past 45 mph. Stock audio systems simply are not engineered to overcome heavy exhaust rumble, rushing wind, and road turbulence.
It is no wonder that over 60% of Harley-Davidson owners who ride long distances invest in aftermarket speakers for better sound quality. Beyond personal enjoyment, building a top-tier sound setup protects your investment. High-end audio system upgrades can increase motorcycle resale value by up to 10-15%, making it one of the top 3 audio upgrades every Harley owner should consider. Whether you are hunting across the web for Harley Davidson motorcycle speakers for sale or customizing an entire bagger, modern aftermarket components blow factory equipment away.
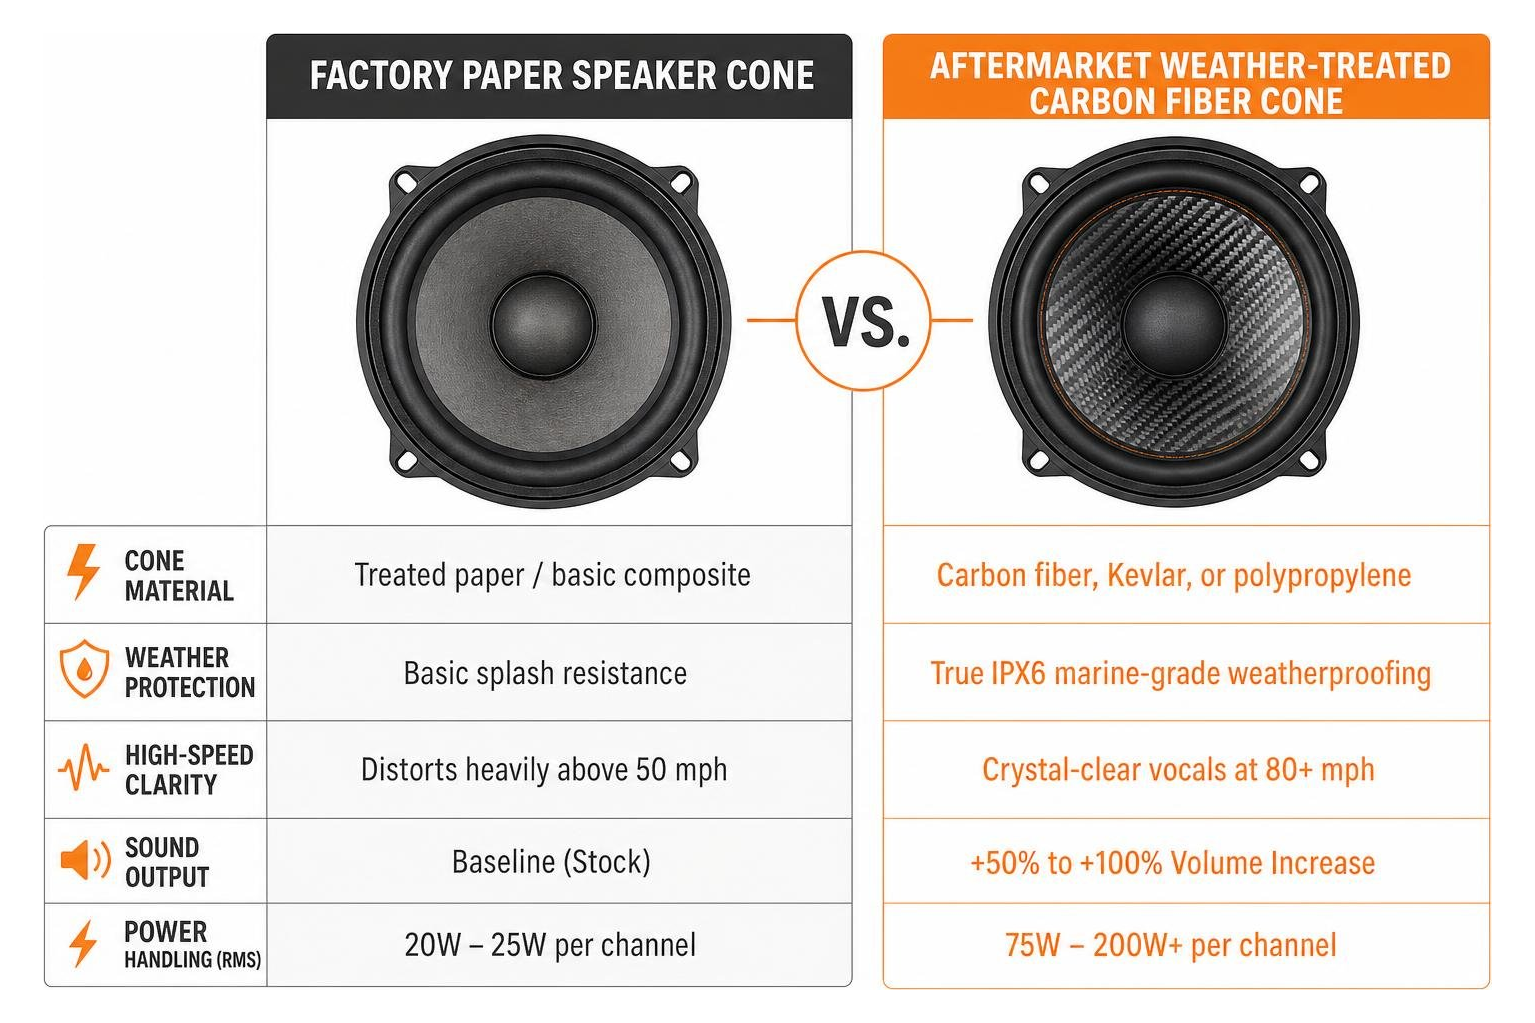
| Feature / Metric | Factory Boom! Box Audio | High-Output Aftermarket Audio |
|---|---|---|
| Power Handling (RMS) | 20W – 25W per channel | 75W – 200W+ per channel |
| Sound Output Gain | Baseline (Stock) | +50% to +100% Volume Increase |
| Cone Material | Treated paper / basic composite | Carbon fiber, Kevlar, or polypropylene |
| Weather Protection | Basic splash resistance | True IPX6 marine-grade weatherproofing |
| High-Speed Clarity | Distorts heavily above 50 mph | Crystal-clear vocals at 80+ mph |
| Average Upgrade Cost | Standard factory fit | $300 to $1,500 depending on scope |
Stock Boom! Audio vs. High-Performance Aftermarket Systems
Harley-Davidson Boom! Box infotainment systems are available on over 20 touring models, offering convenient touchscreen navigation and handlebar integration. However, the factory drivers paired with these systems use lightweight paper cones, tiny magnets, and fragile voice coils. When pushed at higher volumes, they heat up rapidly, lose acoustic linearity, and distort.
High-performance aftermarket systems solve these limitations from the ground up. To dive deeper into how these setups differ, check out our breakdown on understanding Harley Davidson audio. Aftermarket drivers utilize heavy-duty voice coils, massive neodymium magnets, and stiff, lightweight cone materials that maintain their structural integrity under severe acoustic stress.
The Sound Quality and Highway Performance Difference
Stock motorcycle sound systems rely on narrow frequency bands that wash out the second you hit cruising speeds. Aftermarket upgrades for Harley-Davidson motorcycles can increase sound output by 50-100% compared to stock units.
When you install the loudest motorcycle speakers paired with proper amplification, you gain crucial dynamic headroom. Vocals stay articulate, guitars ring out distinctly, and mid-bass punches through without forcing the system into harsh clipping.
Top Speaker Configurations by Riding Style and Placement
Every rider has a unique style, and your audio configuration should match how you use your bike. Touring enthusiasts racking up thousands of cross-country miles demand a wide soundstage, while weekend bar-hoppers might prioritize maximum point-blank volume. Reviewing the ultimate guide to upgrading your Harley Davidson's audio system helps narrow down the perfect layout.
Sizing and Placement for Harley Davidson Motorcycle Speakers
Achieving great audio on a motorcycle requires placing sound sources strategically across the bike's chassis:
- Upper Fairing (6.5-inch Coaxials or Component Sets): The primary soundstage directly in front of the rider. Upgrading fairing drivers using a Harley fairing audio upgrade provides immediate vocal clarity at speed.
- Lower Fairings (6.5-inch Drivers): Adds incredible forward fill and mid-bass warmth right by your knees, sealing the acoustic pocket behind your windshield.
- Saddlebag Lids (6x9-inch or 8-inch Drivers): Pointed directly at your back, lid speakers provide substantial surface area for low-end punch. Explore our Harley saddlebag audio upgrade guide to see how rear audio transforms the ride.
- Tour Pack Pods (6.5-inch Drivers): Critical for passenger comfort on long-haul two-up touring trips.
Matching Speakers to Amplifiers and Radios
Great speakers cannot perform without clean power. The factory radio head unit produces only a modest amount of power before severe distortion sets in. Pairing your drivers with a dedicated digital micro-amplifier ensures your cones receive true continuous RMS wattage.
When assembling your package, learn how to choose the right amplifier for your Harley's sound system. Modern setups often pair upgraded speakers with an advanced Harley radio Bluetooth head unit or a digital signal processor (DSP) to flatten factory equalization curves and maximize sound quality.
Key Buying Factors: Weatherproofing, Power, and Fitment
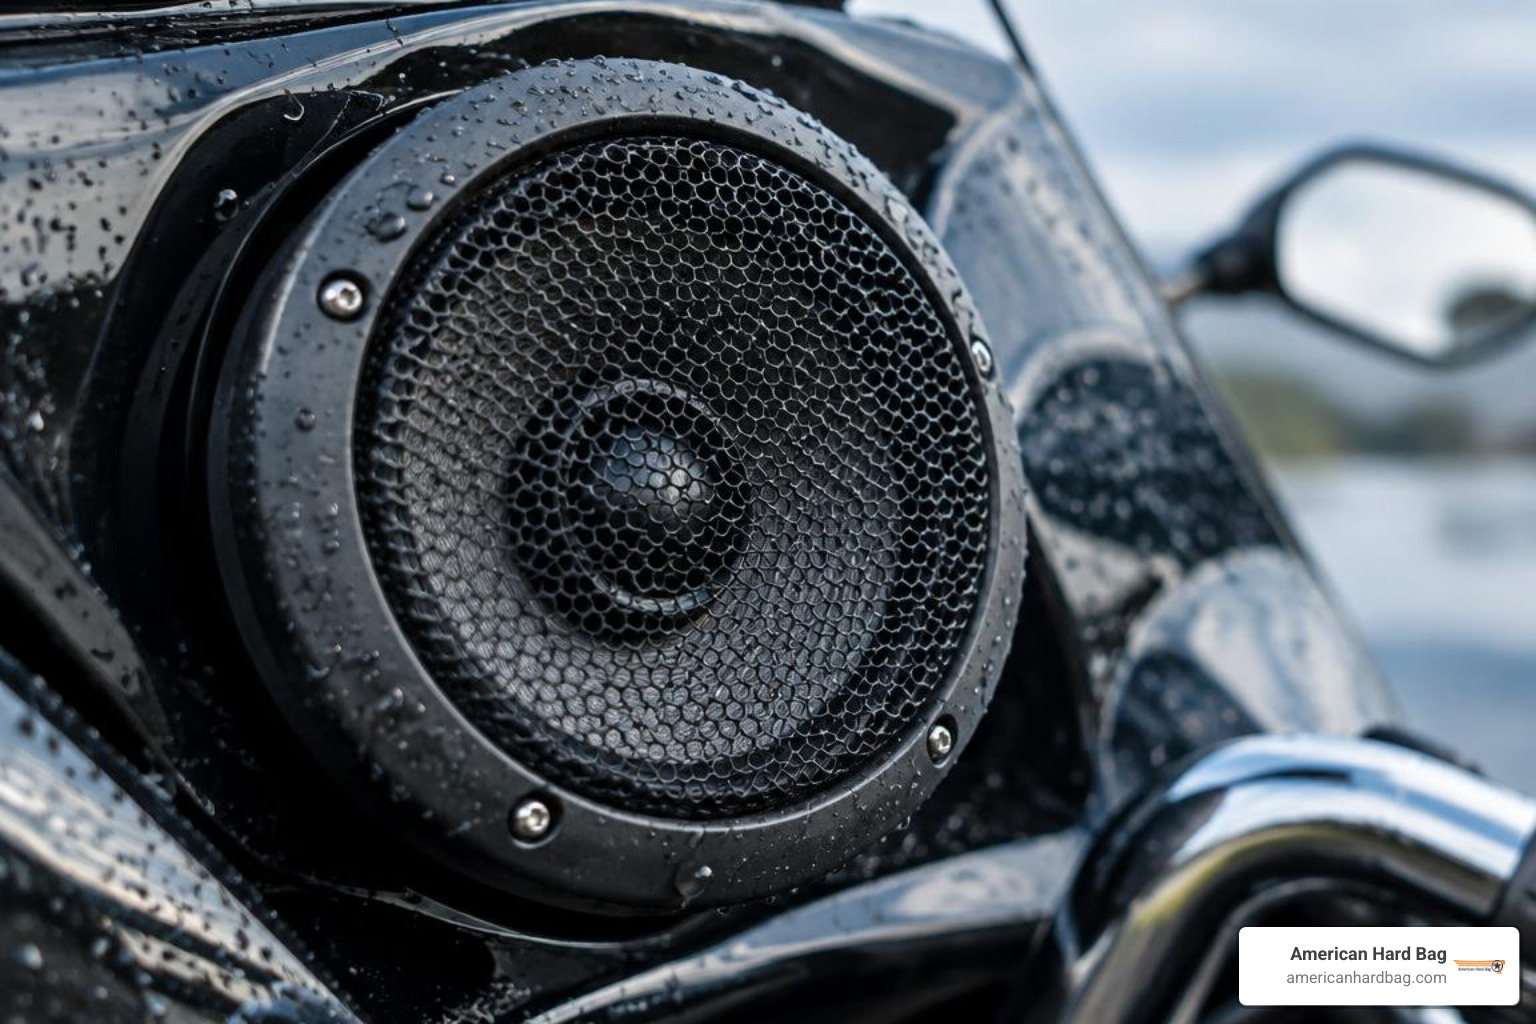
Upgrading motorcycle audio is very different from building a car stereo. Bike components must survive driving rain, scorching sun, relentless road vibration, and extreme temperature swings. Choosing the right parts from an ultimate Harley audio parts guide ensures your investment lasts for years.
When mounting speakers inside the fairing, selecting a dedicated Harley fairing kit guarantees seamless mechanical alignment and factory-tight sealing against water intrusion.
Power Handling and Sensitivity Ratings
Always focus on RMS Power Handling rather than inflated "Peak" or "Max" wattage ratings. RMS measures the continuous power a speaker can handle all day long without thermal breakdown.
Additionally, pay close attention to the Sensitivity (SPL) Rating (measured in dB @ 1W/1m). Selecting high output speakers with high sensitivity ratings (92 dB or higher) means the speaker converts available amplifier wattage into audible sound far more efficiently.
Weather Resistance and Marine-Grade Durability
Motorcycles live outdoors, making environmental resistance non-negotiable. Look for:
- IPX6 or Marine Ratings: Protects against heavy rain and direct water spray from bike washes.
- UV-Treated Santoprene Surrounds: Prevents sunlight from drying, cracking, or tearing the speaker cone surrounds.
- Sealed Neoprene Gaskets: Keeps water from leaking past speaker flanges into your fairing electronics or saddlebag storage.
- Reinforced Polymer Baskets: Resists stress cracking caused by high-vibration V-twin engines.
Step-by-Step Installation, Wiring, and Tuning Guide
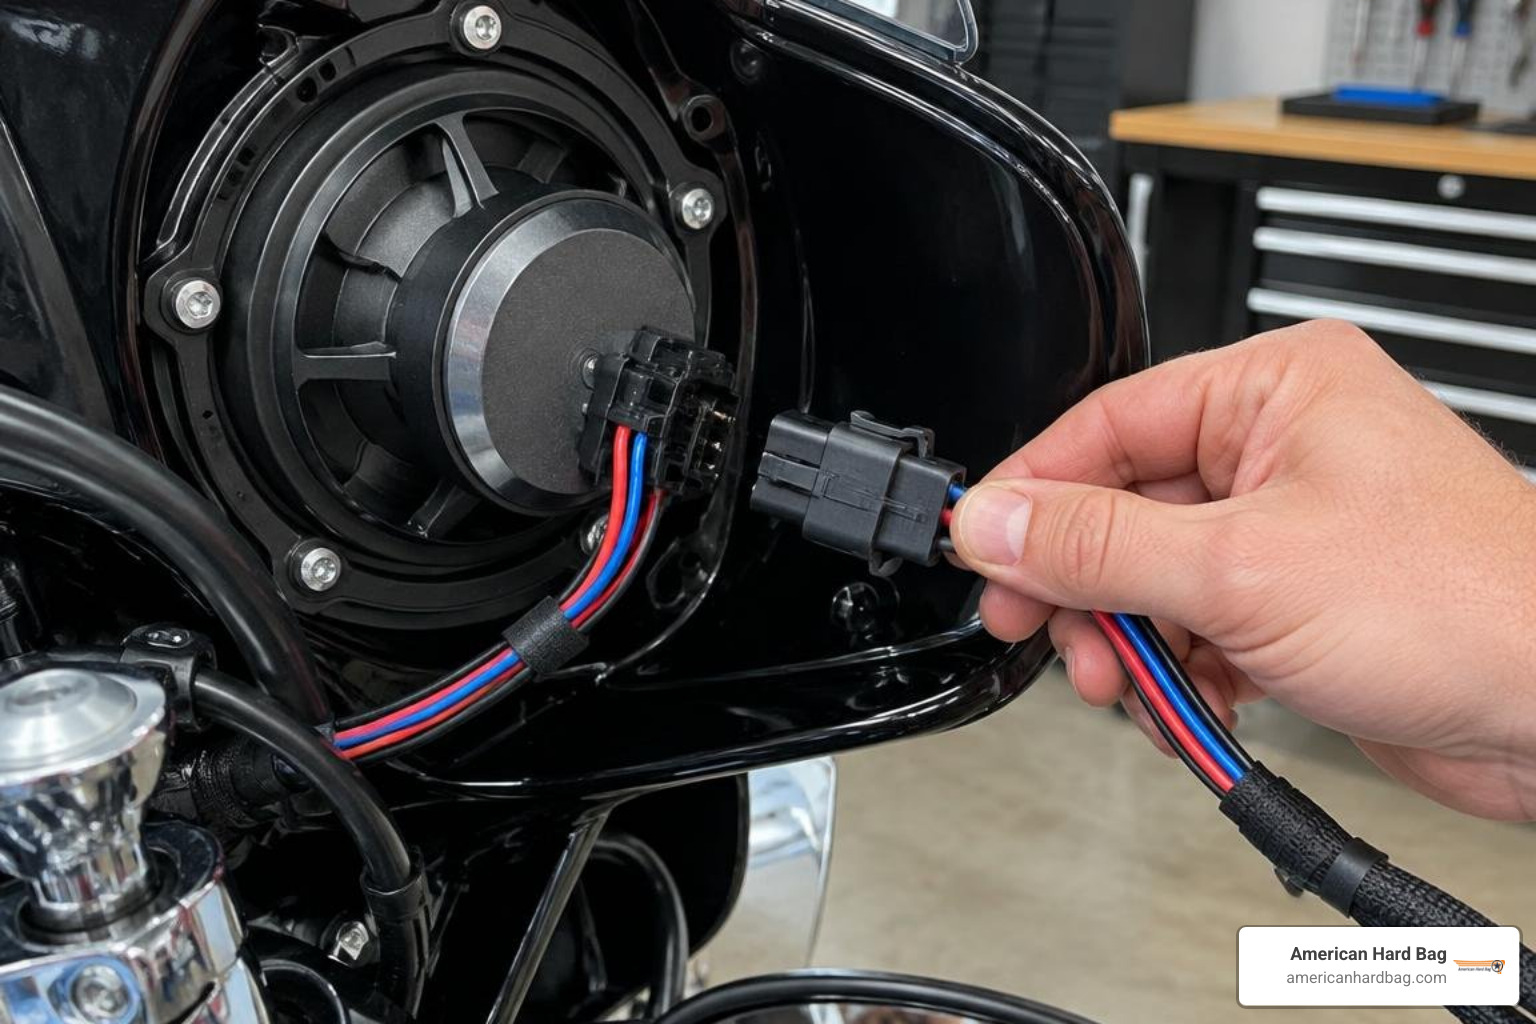
You do not need to pay thousands in labor fees to get great sound. With plug-and-play wiring harnesses and bolt-on mounting adapters, most riders can complete an audio overhaul over a weekend. If you are adding clean power to your setup, follow our complete Harley Touring amplifier install walkthrough for safe routing.
How to Install Harley Davidson Motorcycle Speakers at Home
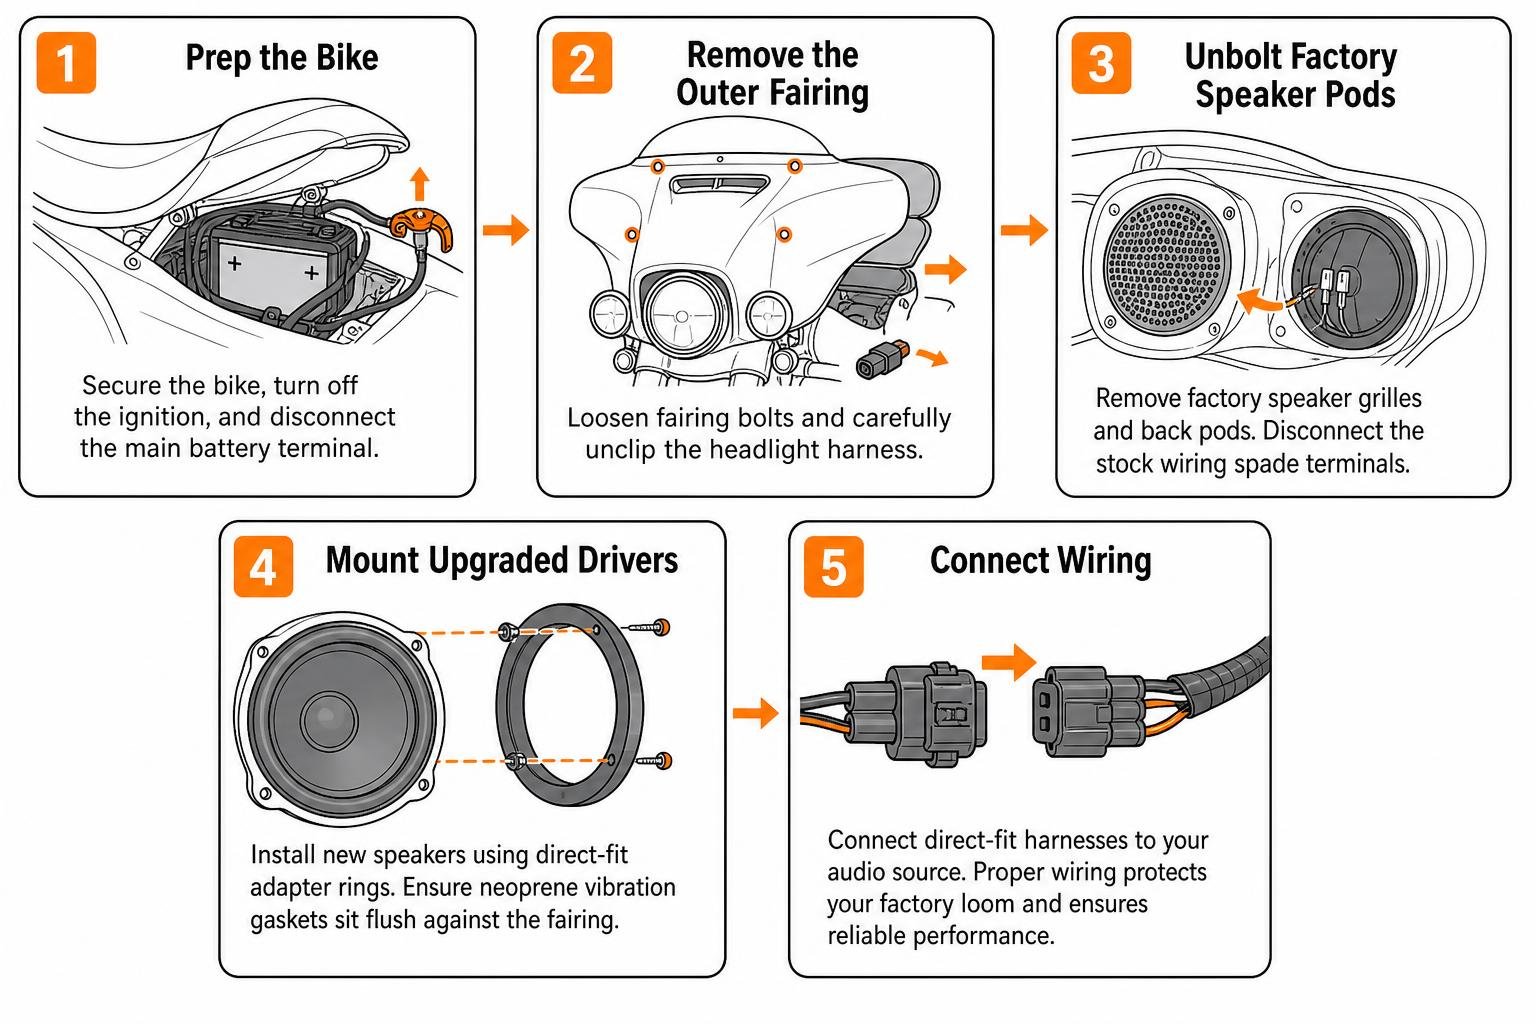
- Prep the Bike: Secure your motorcycle on a level surface, turn off the ignition, and disconnect the main battery terminal under the seat.
- Remove the Outer Fairing: Using standard Torx tools (T27/T25 depending on your model year), loosen the fairing bolts and carefully unclip the headlight harness. For specific tips on popular models, check out our Harley Street Glide audio guide.
- Unbolt Factory Speaker Pods: Remove the factory speaker grilles and back pods. Disconnect the stock wiring spade terminals.
- Mount Upgraded Drivers: Install your new aftermarket speakers using direct-fit adapter rings. Ensure all neoprene vibration gaskets sit flush against the fairing structure.
- Connect Wiring: Connect direct-fit harnesses to your audio source. Using proper Harley speaker wiring methods protects your factory loom and prevents loose ground connections down the road.
- Test and Reassemble: Reconnect the battery, test the left/right balance and fader controls at moderate volume, then securely bolt the fairing back in place.
Troubleshooting Common Audio and Distortion Issues
If your audio sounds muddy or cuts out, check these common issues:
- Harsh Distortion at Mid-Volume: Your factory radio features a aggressive internal EQ flash designed to make weak stock speakers sound louder. Flashing your radio or using a DSP corrects this curve for aftermarket equipment.
- Amplifier Thermal Protect Mode: Ensure your amp has adequate airflow inside the fairing and that your speaker load matches the amplifier's rated impedance (typically 2-ohm or 4-ohm).
- Engine Whine / Alternator Noise: Often caused by grounding your amplifier to a weak fairing bolt instead of running the ground cable directly back to the negative battery terminal.
Frequently Asked Questions About Harley Audio
Do aftermarket Harley speakers require an external amplifier?
While high-efficiency aftermarket speakers will sound clearer than stock speakers on factory radio power, an external amplifier is strongly recommended. Factory head units provide only 20-25 watts of power per channel, which runs out of headroom quickly at highway speeds. A dedicated amplifier provides 75W to 150W+ RMS per channel, delivering loud, undistorted audio that easily overcomes 70+ mph highway wind noise.
Are aftermarket motorcycle speakers fully waterproof?
Top-tier motorcycle speakers feature marine-grade weatherproofing (often rated IPX5 or IPX6). This means they are engineered to resist torrential rain, road spray, UV degradation, and standard washing. However, you should avoid blasting high-pressure car-wash wands directly into the speaker grilles at close range.
Will installing new speakers void my Harley-Davidson warranty?
No. Installing bolt-on aftermarket audio using plug-and-play wiring harnesses does not void your motorcycle's factory warranty. Under the federal Magnuson-Moss Warranty Act, a manufacturer cannot void your vehicle warranty simply because you installed aftermarket equipment, provided the installation does not damage or splice into critical factory systems.
Upgrade Your Ride With American Hard Bag
Upgrading your motorcycle's audio system transforms long highway stretches into an unforgettable concert on wheels. Whether you want a punchy fairing speaker upgrade or an earth-shattering full-bike system with amplifier-driven saddlebag lids, we build audio systems designed specifically to conquer open-road noise.
Ready to leave weak, distorted stock sound in the dust? Browse our comprehensive all Harley speakers collection to find plug-and-play, high-power audio packages engineered specifically for your Harley-Davidson Touring motorcycle.